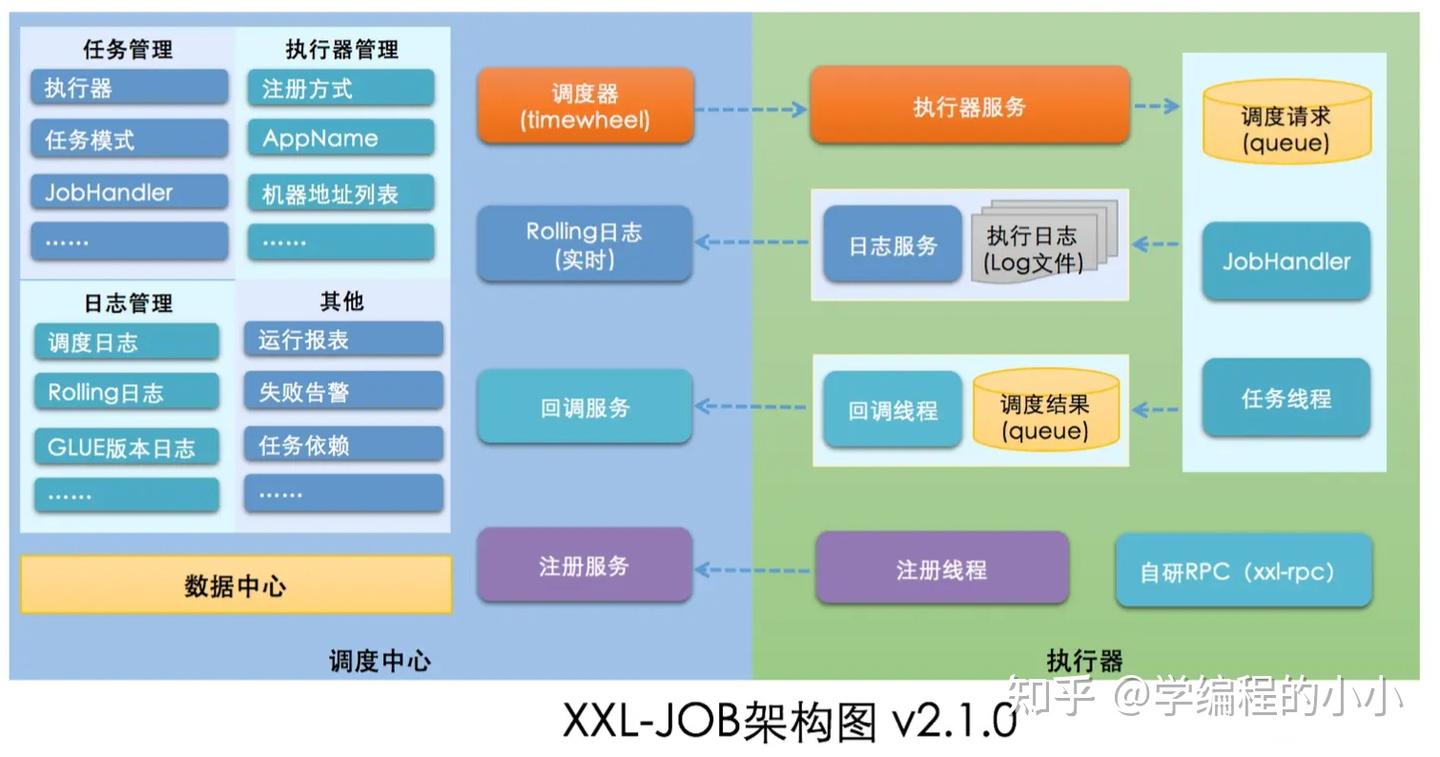
任务调度相关功能的工具,它允许开发者方便地进行定时任务、异步任务等的处理(而无需客户端请求)。
cron 表达式:
Cron 表达式是一个字符串,主要用于指定定时任务的执行时间。它由 6 或 7 个空格分隔的字段组成,各字段代表的含义及取值范围如下:
| 字段顺序 | 字段名称 | 是否必须 | 取值范围 | 特殊字符 |
|---|---|---|---|---|
| 1 | 秒 | 是 | 0-59 | , - * / |
| 2 | 分 | 是 | 0-59 | , - * / |
| 3 | 小时 | 是 | 0-23 | , - * / |
| 4 | 日期 | 是 | 1-31 | , - *? / L W |
| 5 | 月份 | 是 | 1-12 或者 JAN-DEC | , - * / |
| 6 | 星期 | 是 | 1-7 或者 SUN-SAT | , - *? / L # |
| 7 | 年份 | 否 | 1970-2099 | , - * / |
表达式中的特殊字符含义如下:
*:表示匹配该字段的所有值。例如在 “分钟” 字段使用*,表示每分钟都会触发任务。?:只能用在 “日期” 和 “星期” 字段。当这两个字段其中一个已经指定了具体值或通配符*时,另一个字段就需要使用?来表明不关心该字段的值。比如要在每月 10 号触发任务,不管是星期几,那么 “日期” 字段写10,“星期” 字段就写?。-:用于指定一个范围。例如在 “小时” 字段写10-12,表示在 10 点、11 点、12 点都会触发任务。,:用于分隔多个值。例如在 “星期” 字段写MON,WED,FRI,表示在周一、周三、周五触发任务。/:用于指定步长。例如在 “秒” 字段写0/10,表示从 0 秒开始,每隔 10 秒触发一次任务;5/15则表示从 5 秒开始,每隔 15 秒触发一次任务。L:用在 “日期” 字段时,表示该月的最后一天;用在 “星期” 字段时,表示星期六。也可以与数字结合使用,如在 “星期” 字段写5L,表示本月的最后一个星期四。W:表示离指定日期最近的工作日。例如在 “日期” 字段写15W,如果 15 号是周六,那么任务会在 14 号(周五)执行;如果 15 号是周日,那么任务会在 16 号(周一)执行;如果 15 号是周二,那就是在 15 号执行。#:只能用在 “星期” 字段,用于指定本月的第几个星期几。例如在 “星期” 字段写2#3,表示本月的第三个星期二。
一般直接用工具生成所需表达式。
一般使用步骤:
1. 引入依赖
如果你使用的是 Spring Boot 项目,在pom.xml(Maven 项目)中添加以下依赖:
<dependencies>
    <!-- Spring Boot Starter Web 包含了 Spring Task 所需的依赖 -->
    <dependency>
        <groupId>org.springframework.boot</groupId>
        <artifactId>spring-boot-starter-web</artifactId>
    </dependency>
</dependencies>
2. 启用任务调度
在 Spring Boot 的主应用类上添加@EnableScheduling注解,以此来开启 Spring 的任务调度功能。示例代码如下:
import org.springframework.boot.SpringApplication;
import org.springframework.boot.autoconfigure.SpringBootApplication;
import org.springframework.scheduling.annotation.EnableScheduling;

@SpringBootApplication
@EnableScheduling
public class YourApplication {
    public static void main(String[] args) {
        SpringApplication.run(YourApplication.class, args);
    }
}
3. 创建任务类
创建一个包含定时任务方法的类,在需要定时执行的方法上使用@Scheduled注解来指定任务的执行时间规则。以下是几种不同时间规则的示例:
固定速率执行任务
使用fixedRate属性指定任务执行的时间间隔(以毫秒为单位)。示例代码如下:
import org.springframework.scheduling.annotation.Scheduled;
import org.springframework.stereotype.Component;

@Component
public class ScheduledTasks {
    // 每隔5秒执行一次
    @Scheduled(fixedRate = 5000)
    public void fixedRateTask() {
        System.out.println("Fixed rate task executed at " + System.currentTimeMillis());
    }
}
固定延迟执行任务
使用fixedDelay属性指定任务执行完成后,下一次开始执行的延迟时间(以毫秒为单位)。示例代码如下:
import org.springframework.scheduling.annotation.Scheduled;
import org.springframework.stereotype.Component;

@Component
public class ScheduledTasks {
    // 任务执行完成后,延迟3秒再执行下一次
    @Scheduled(fixedDelay = 3000)
    public void fixedDelayTask() {
        System.out.println("Fixed delay task executed at " + System.currentTimeMillis());
    }
}
使用 Cron 表达式执行任务
使用cron属性指定任务的执行时间,Cron 表达式可以更灵活地定义任务的执行规则。示例代码如下:
import org.springframework.scheduling.annotation.Scheduled;
import org.springframework.stereotype.Component;

@Component
public class ScheduledTasks {
    // 每天中午12点执行
    @Scheduled(cron = "0 0 12 * * ?")
    public void cronTask() {
        System.out.println("Cron task executed at " + System.currentTimeMillis());
    }
}
4. 运行应用程序
启动 Spring Boot 应用程序,Spring 会自动识别并按照指定的时间规则执行带有@Scheduled注解的方法。
注意事项
- 线程池配置:默认情况下,Spring Task 使用单线程执行定时任务。如果有多个定时任务需要并行执行,你可以通过配置
ThreadPoolTaskScheduler来创建一个线程池。示例代码如下:
import org.springframework.context.annotation.Bean;
import org.springframework.context.annotation.Configuration;
import org.springframework.scheduling.annotation.EnableScheduling;
import org.springframework.scheduling.annotation.SchedulingConfigurer;
import org.springframework.scheduling.config.ScheduledTaskRegistrar;

import java.util.concurrent.Executor;
import java.util.concurrent.Executors;

@Configuration
@EnableScheduling
public class SchedulingConfig implements SchedulingConfigurer {
    @Override
    public void configureTasks(ScheduledTaskRegistrar taskRegistrar) {
        taskRegistrar.setScheduler(taskExecutor());
    }

    @Bean(destroyMethod="shutdown")
    public Executor taskExecutor() {
        return Executors.newScheduledThreadPool(5); // 创建一个包含5个线程的线程池
    }
}
- 异常处理:在定时任务方法中,需要对可能出现的异常进行适当的处理,避免因异常导致任务停止执行。可以使用
try-catch块来捕获和处理异常。
通过以上步骤,你就可以在 Spring 项目中方便地使用 Spring Task 进行任务调度了。
